 80mm Receipt Printer
 ACE H2 Receipt Printer
 RP337 Receipt Printer
 RP336S Dual-Color Receipt Printer
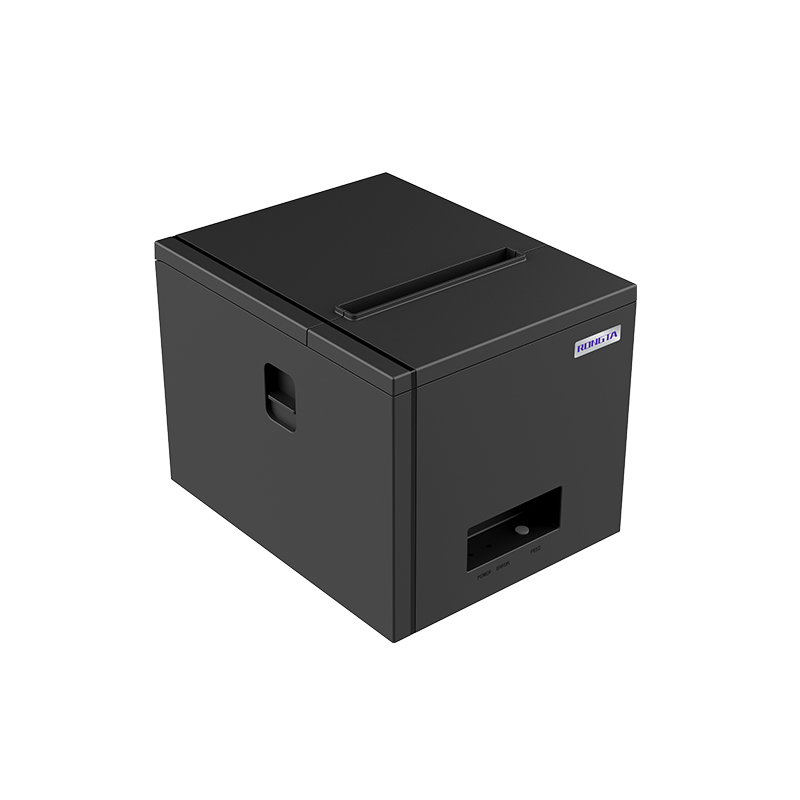 RP350 Receipt Printer
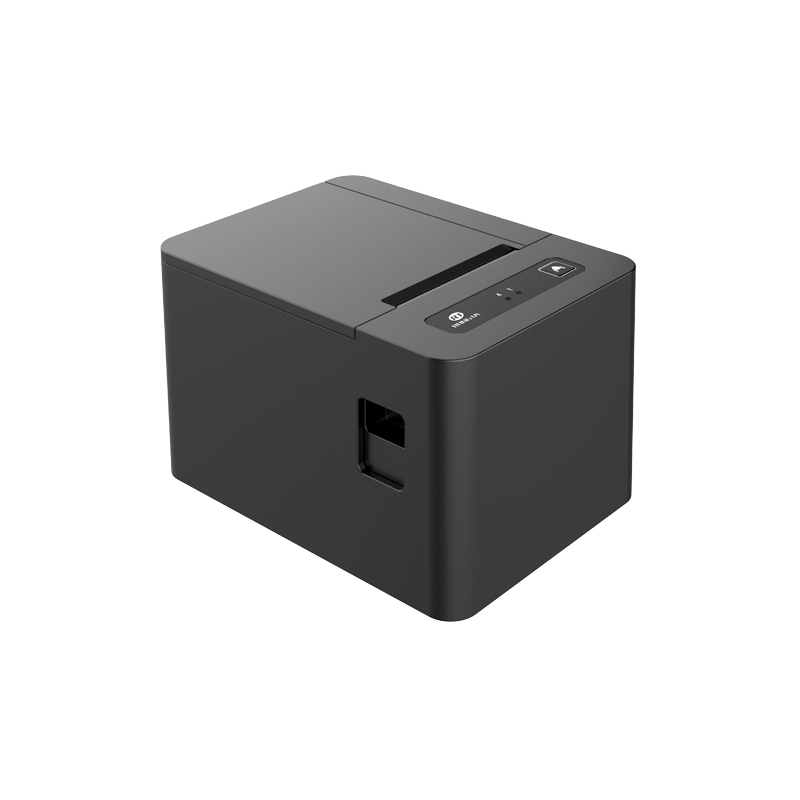 RP582 Receipt Printer
 RP581 Receipt Printer
 ACE G1Y Receipt Printer
 ACE G1YP Cloud Printer
 RP216 2'' Dual-color High-definition Label Printer
 ACE V1S 3'' Backless Label Printer
 RP310D 3'' Dual-color Label Printer
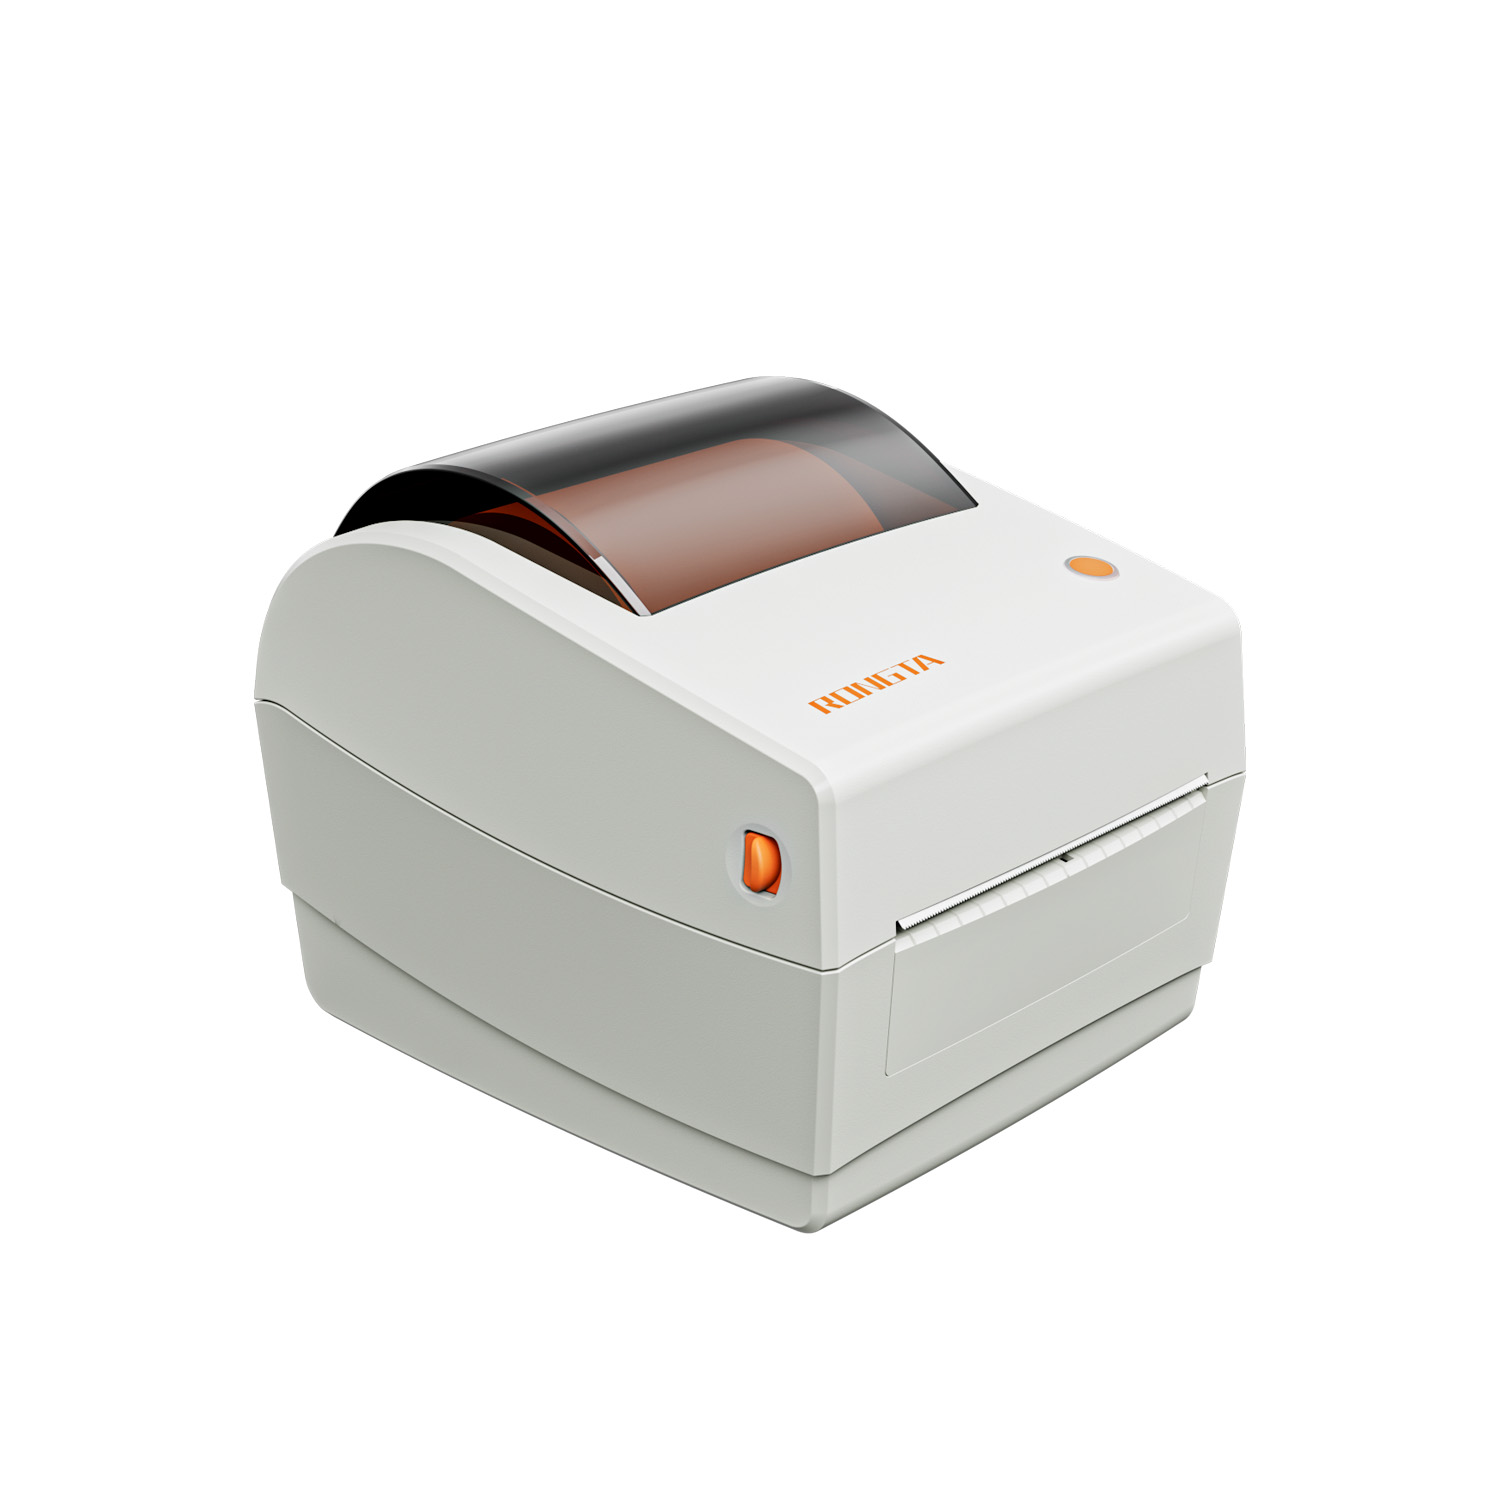 RP410N 4'' Thermal Label Printer
 RP425 4'' Electronic Waybill Printer
 RP422 4'' Electronic Waybill Printer
 RP421A 4'' Electronic Waybill Printer
 RP420 4'' Electronic Waybill Printer
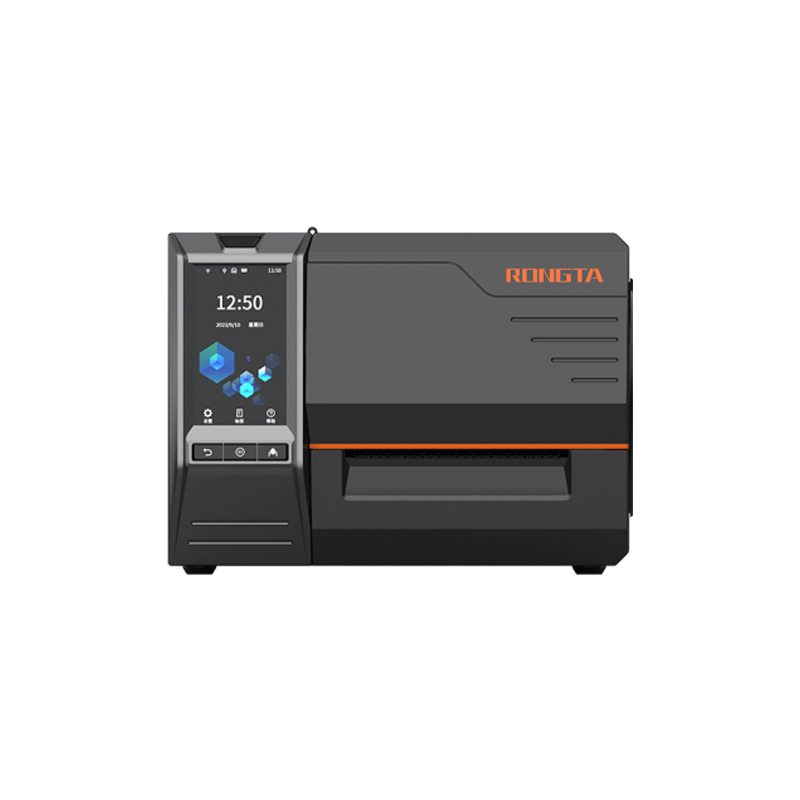 RI463 Series Barcode Printers
 RP400A 4'' Thermal Transfer Tape Cutter Printer
 RP400H 4'' Thermal Transfer Tape Cutter Printer
 RPF413 300dpi RFID barcode label printer
 RPP02A Portable Receipt Printer
 RPP02B Thermal Portable Printer
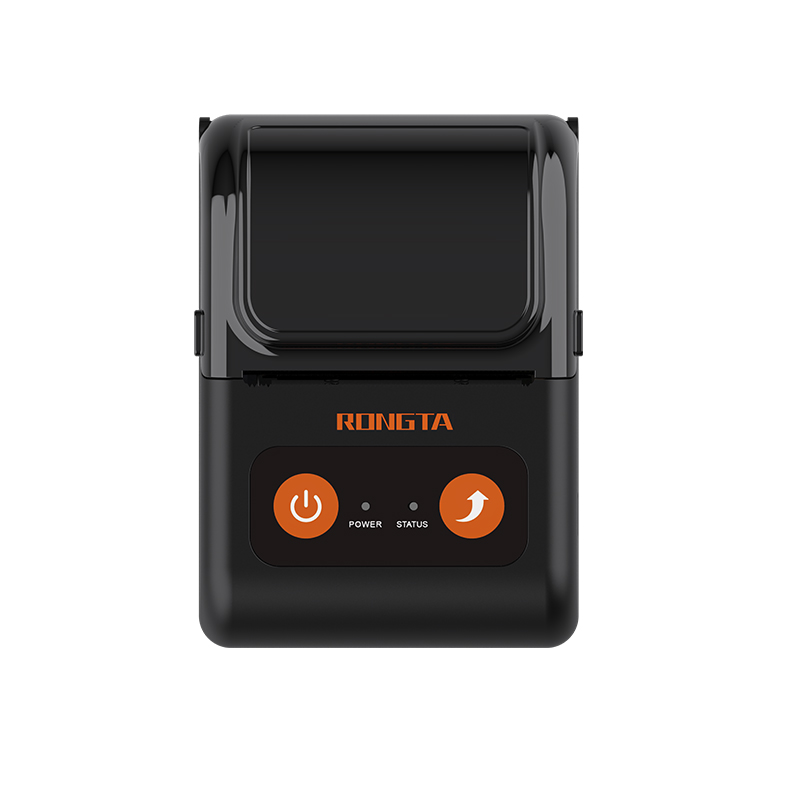 RPP02C Portable Receipt Printer
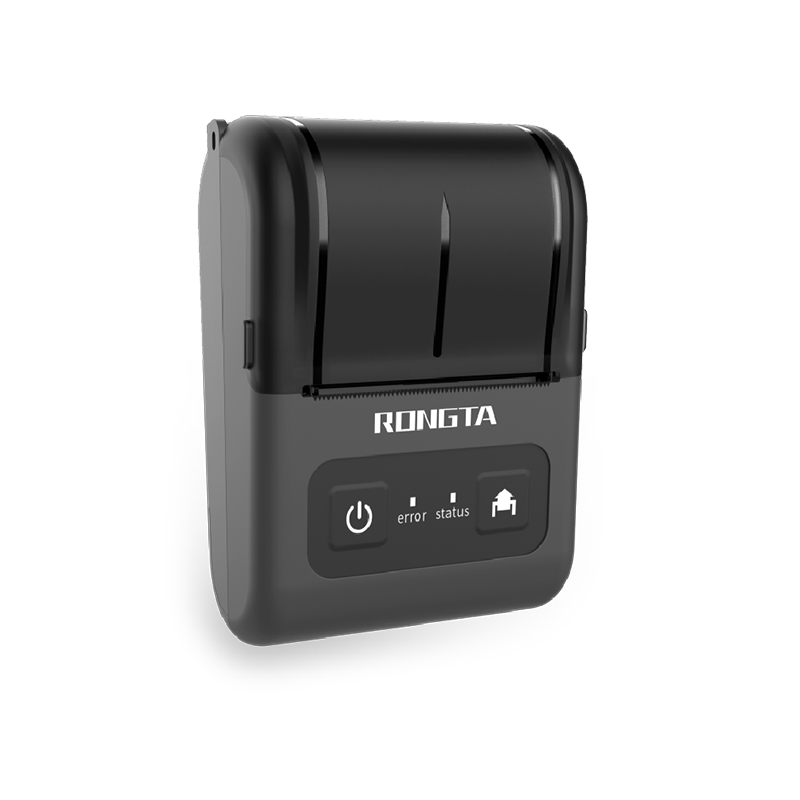 RPP02D Thermal Portable Printer
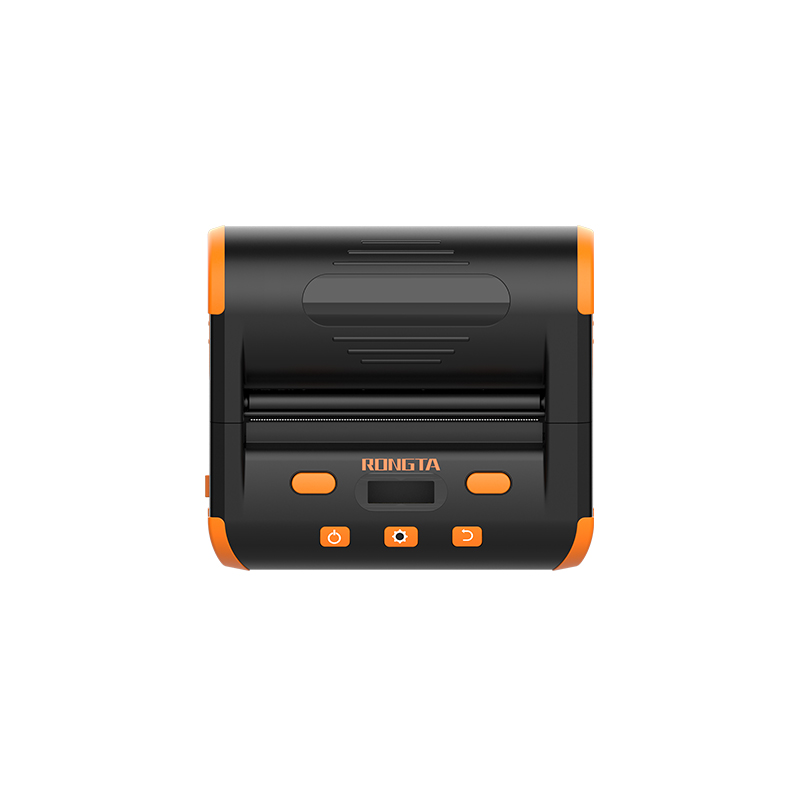 RPP04 4" Portable Label Printer
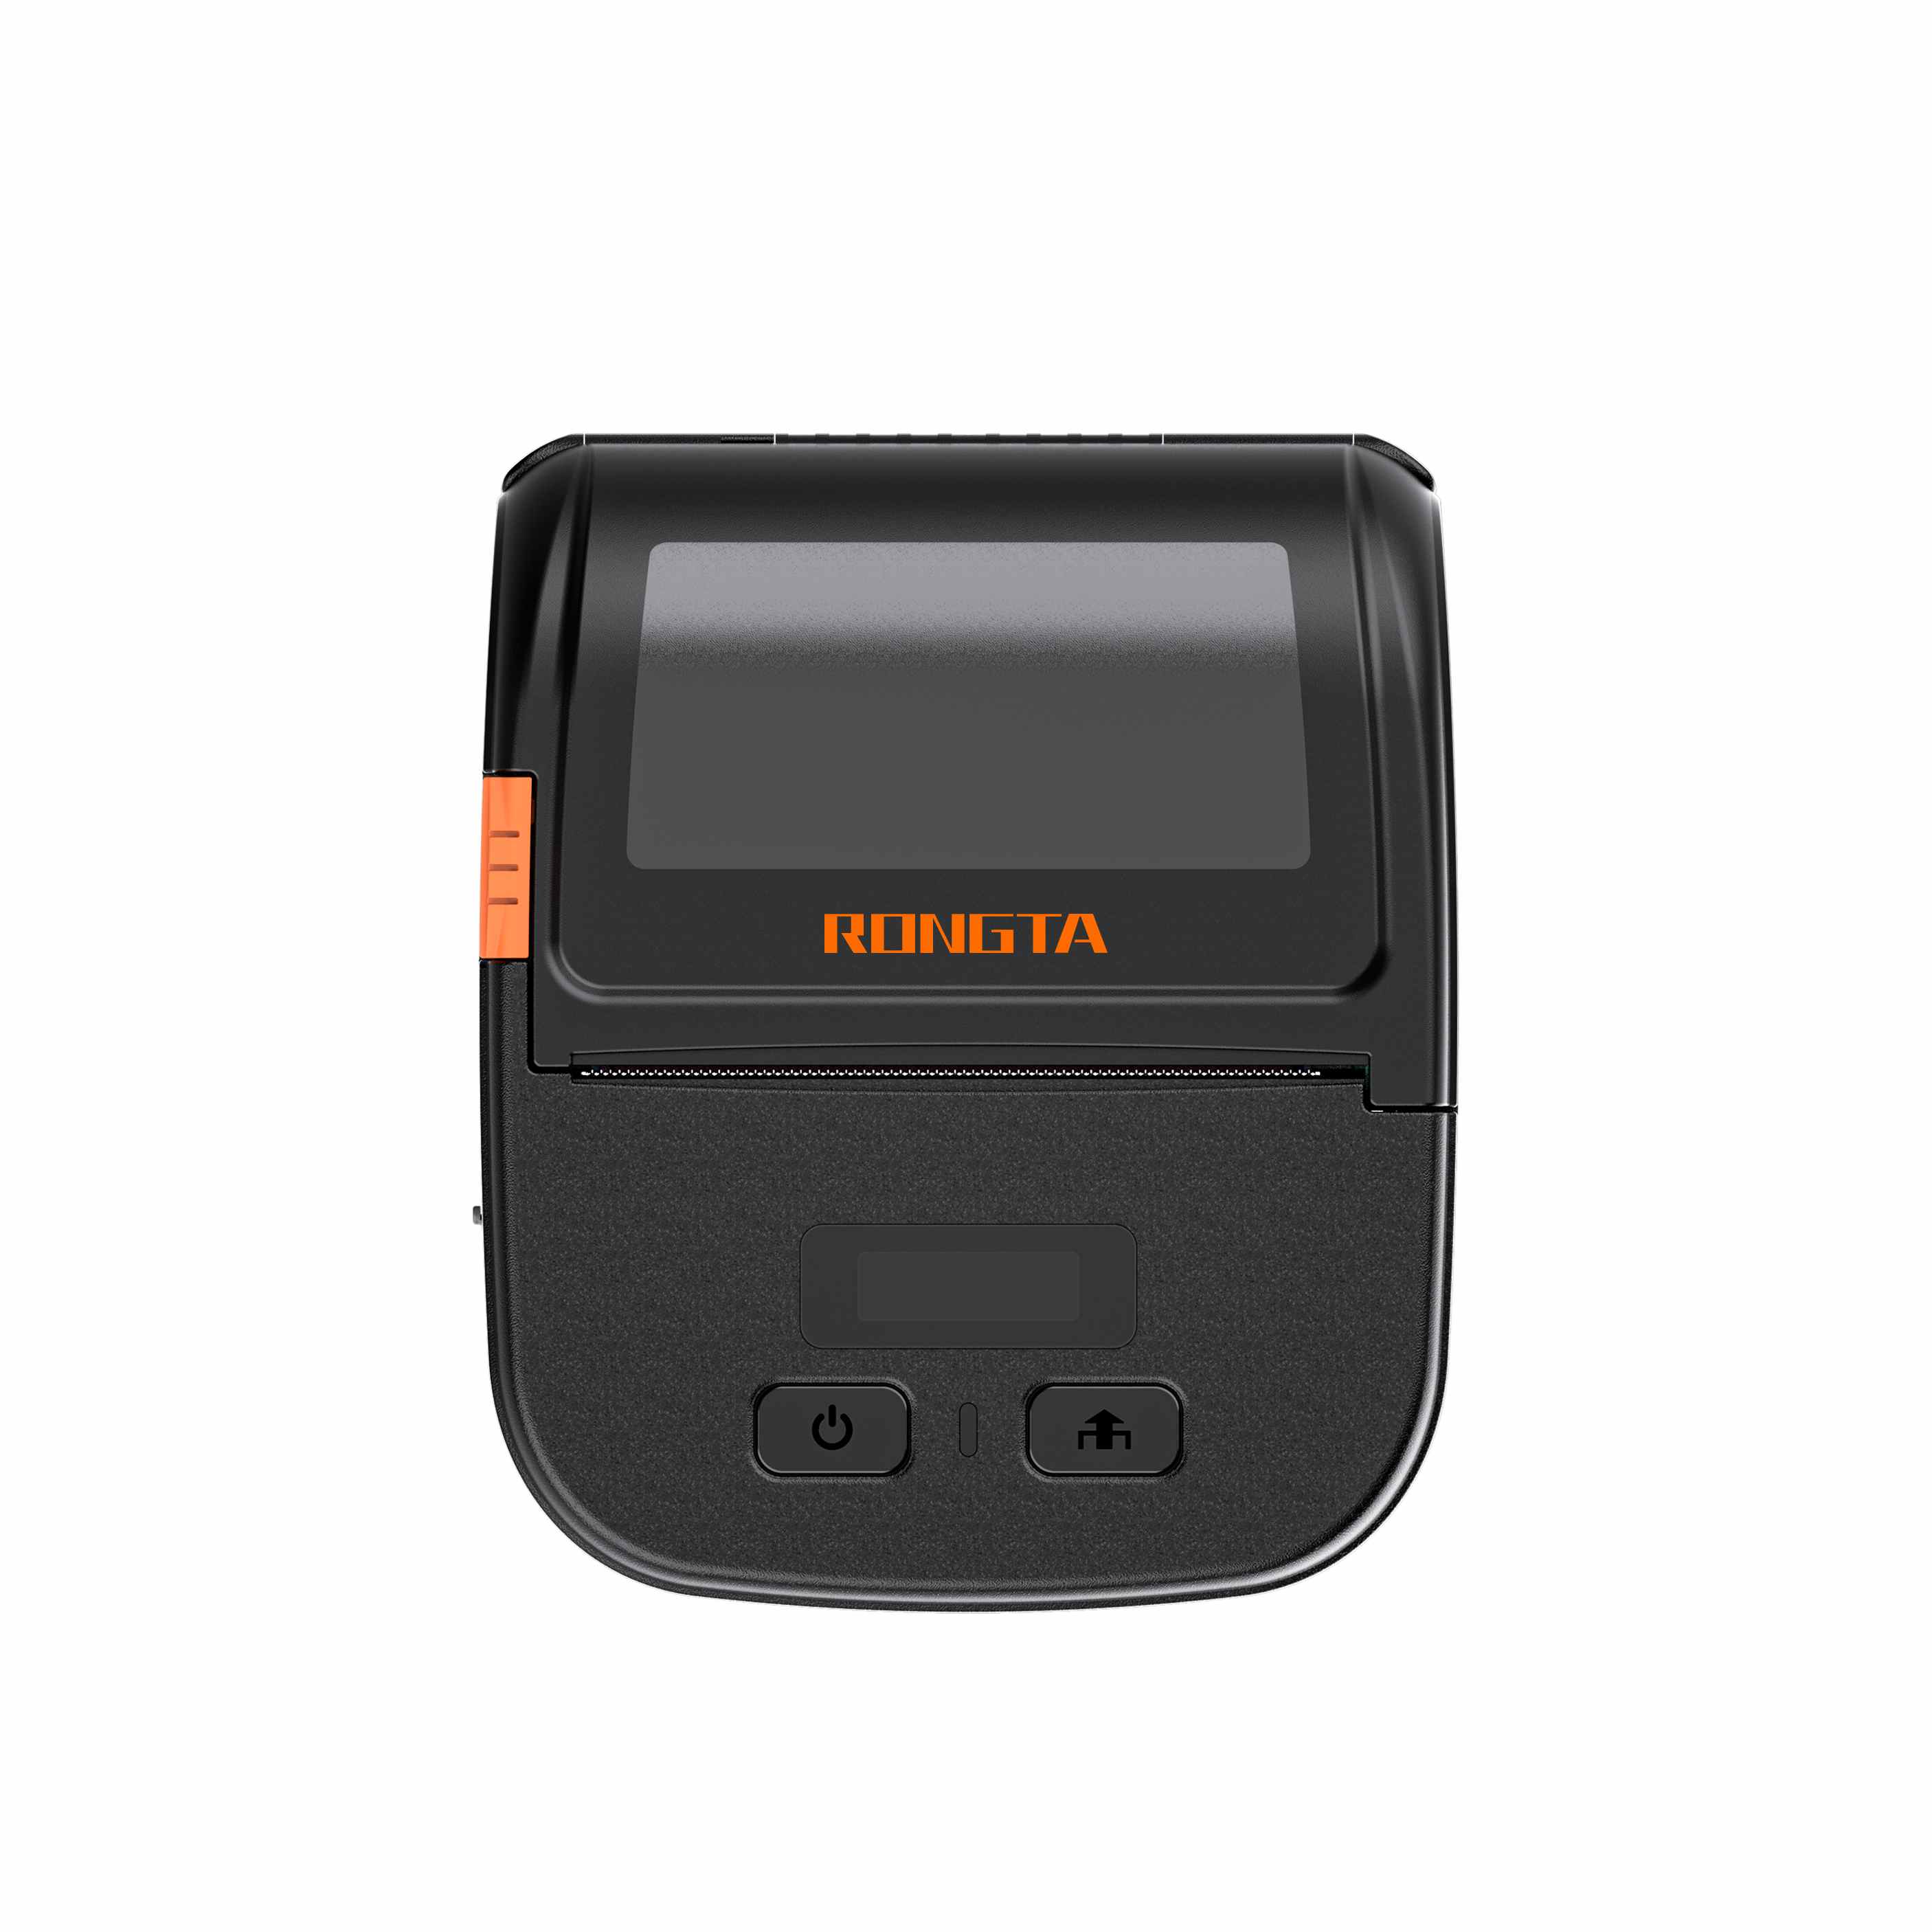 RPP30 3" Portable Label Printer
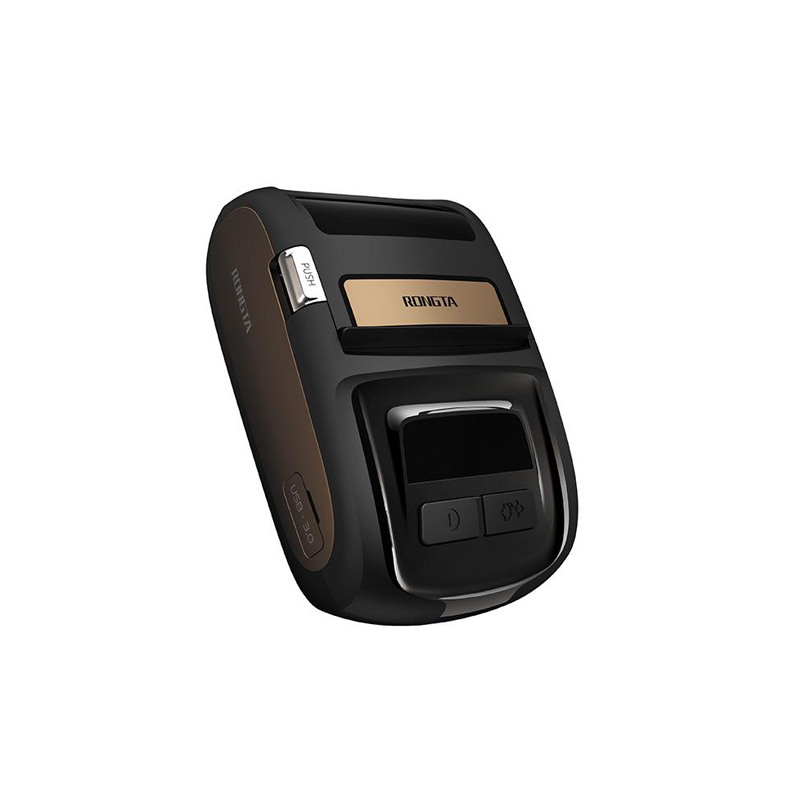 ACE M1 2" Portable Label Printer
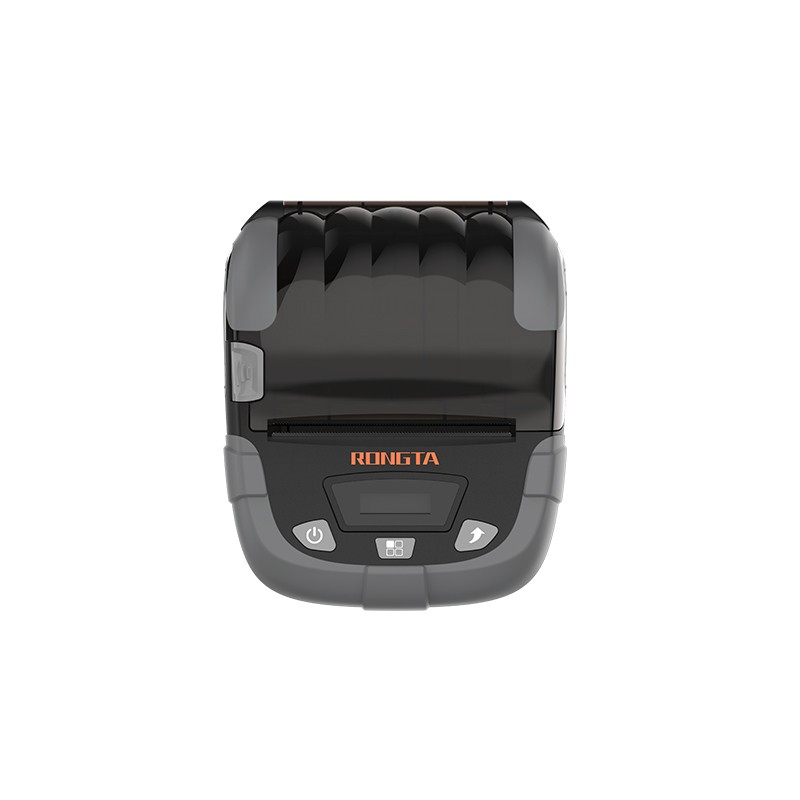 RPP320N 3" Portable Label Printer
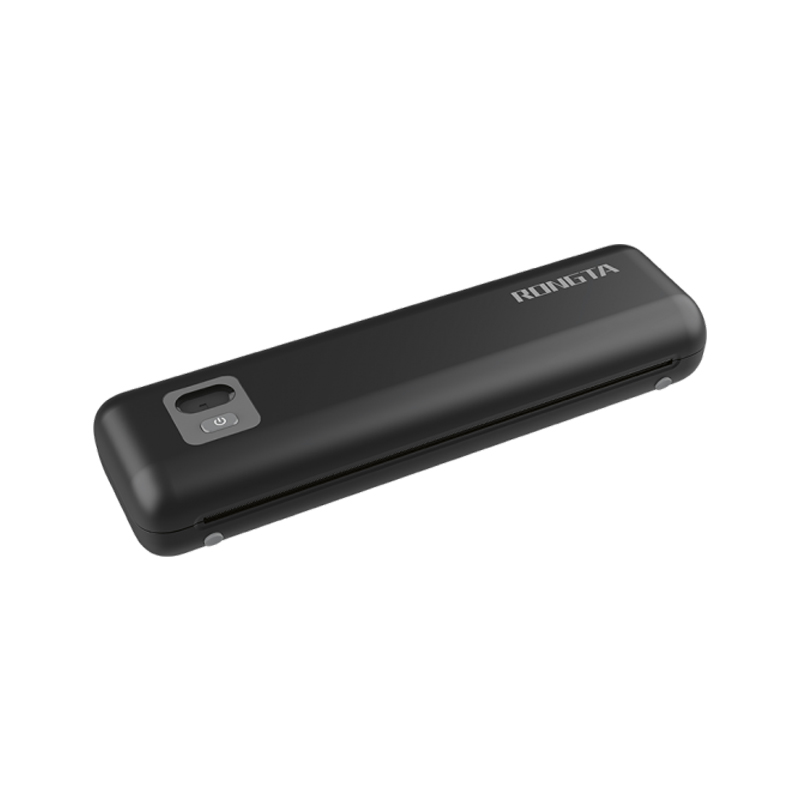 F82A A4 Front-Out Paper Tray Thermal Printer
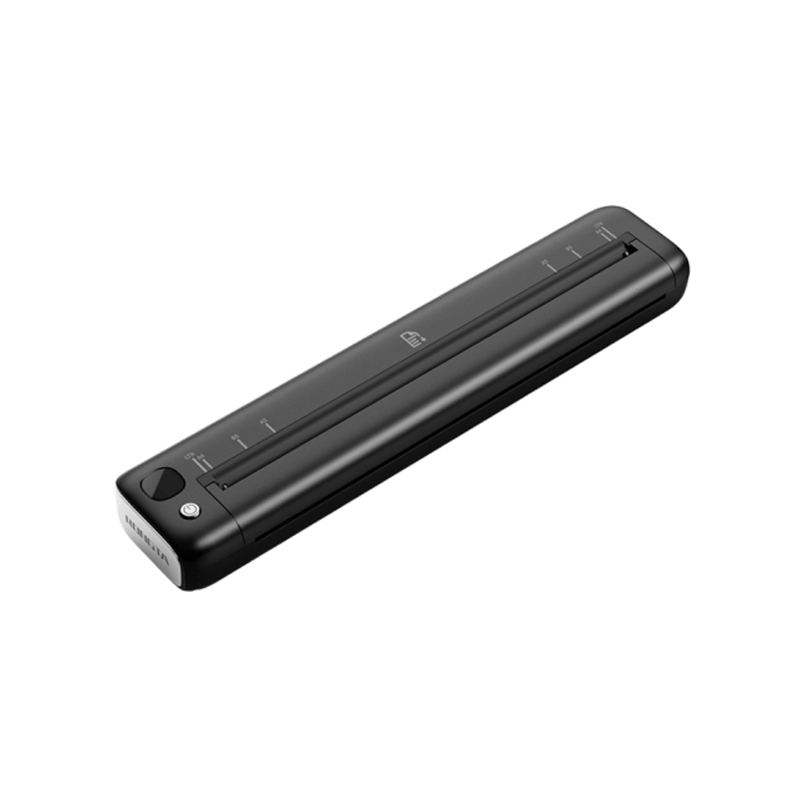 F81A Portable A4 Thermal Printer
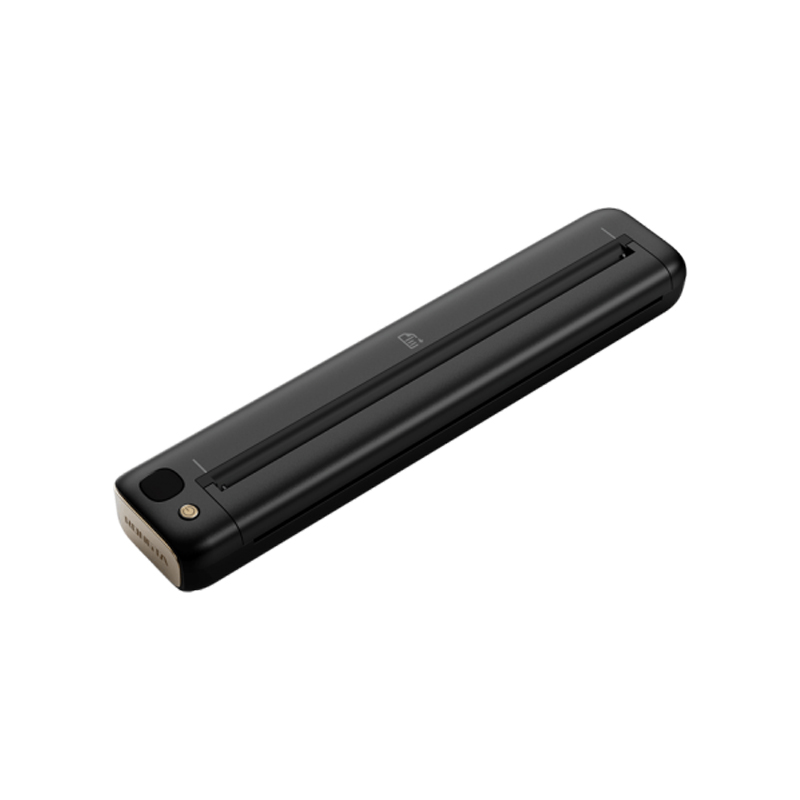 F81S Portable A4 Tattoo Printer
 Z1 Children's Educational Photo Printer
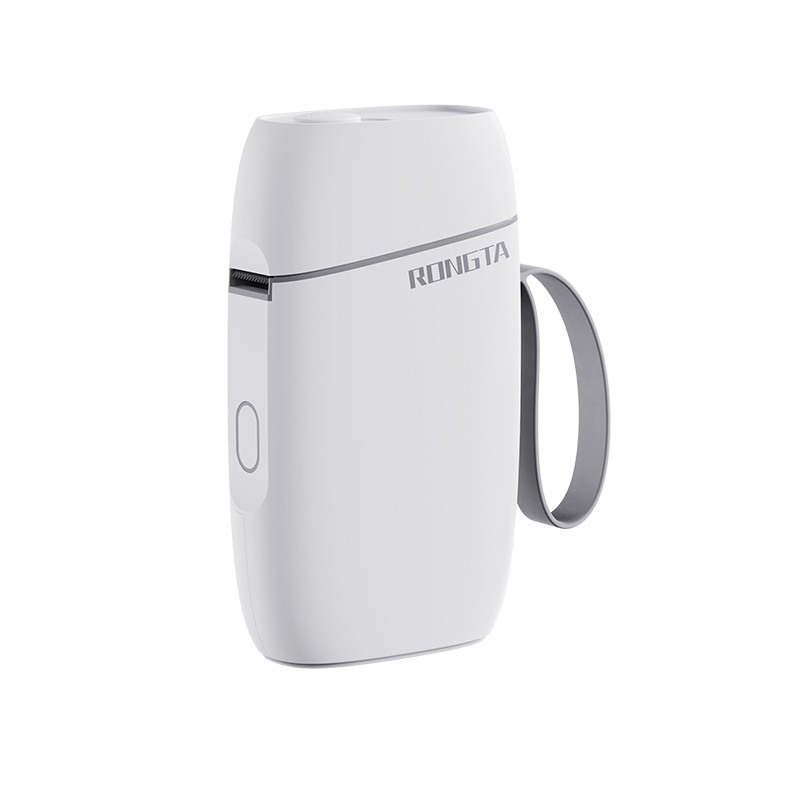 R5 Mini Label Printer
 RP07 58mm Embedded Printer
 RP203 58mm Embedded Printer
 PM315 Embedded Thermal Printer
 PM201 48mm Printing Module
 PM628 58mm printing module
 PM532A Printing Module
 PM532B printer module
 LS015/LS015A Barcode Scale
 RLS1815D/RLS1830D Barcode Scale
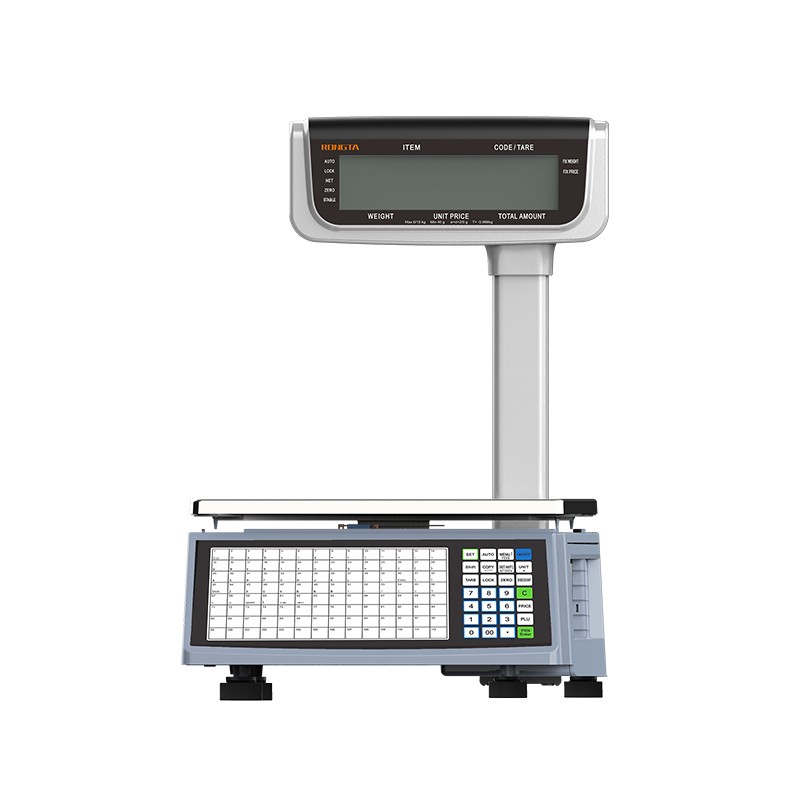 RLS1815C/RLS1830C Barcode Scale
 AURORA S2L-S Labelless Scale
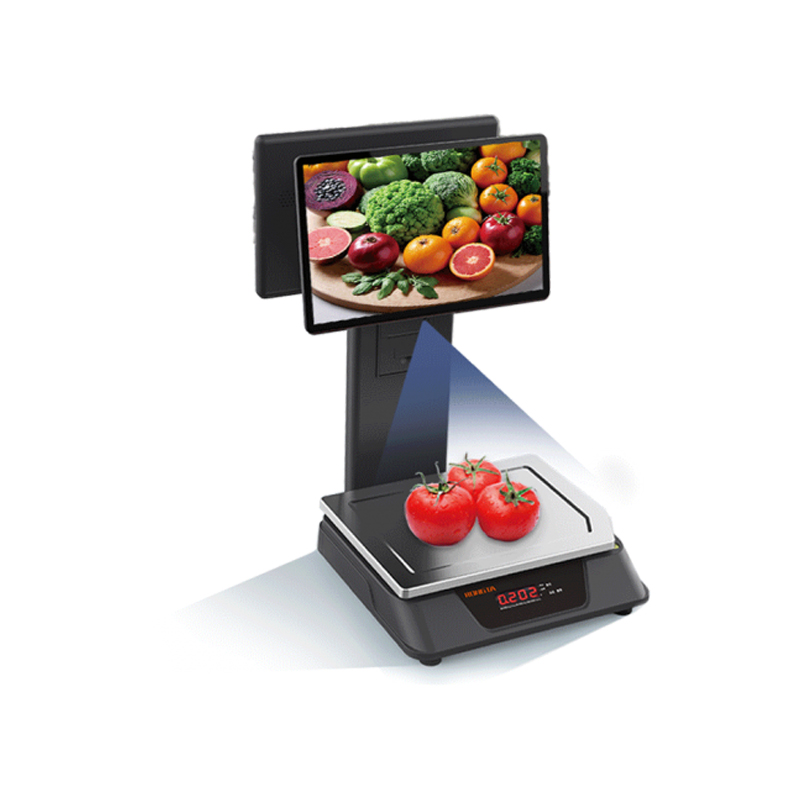 AURORA E1 PRO-AI Cash Register Scale
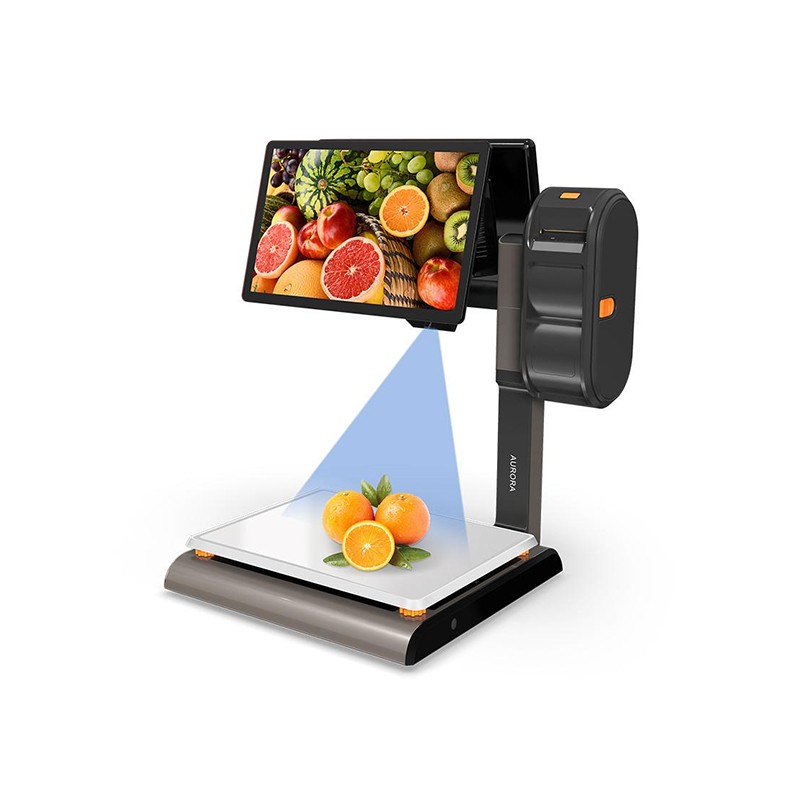 AURORA S2L-AI Label Scale
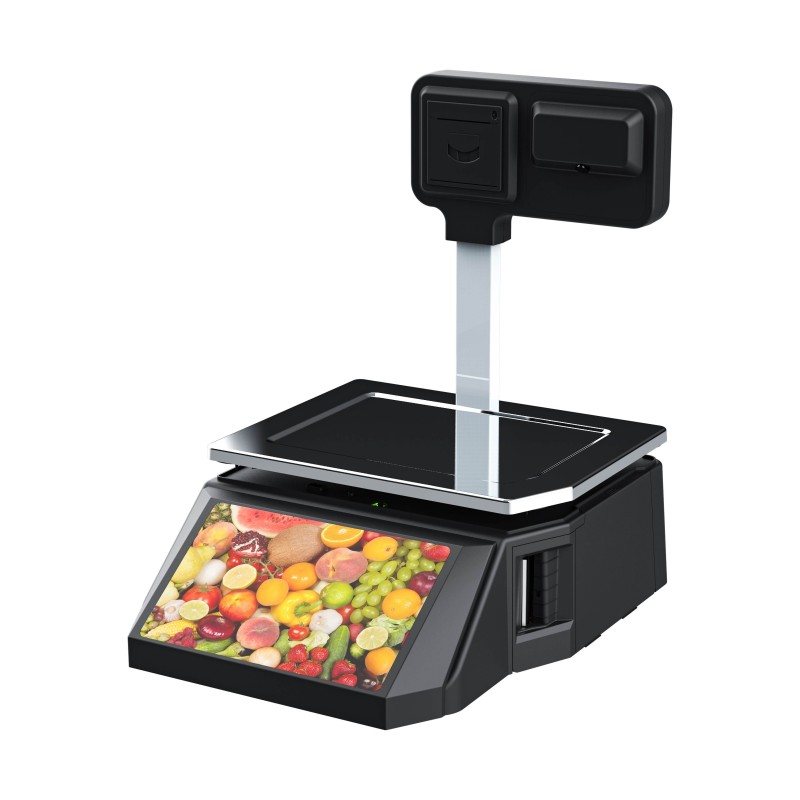 DP01-AI Smart Tag Cashier Dual-Use Scale
 C3 Weighing Scale
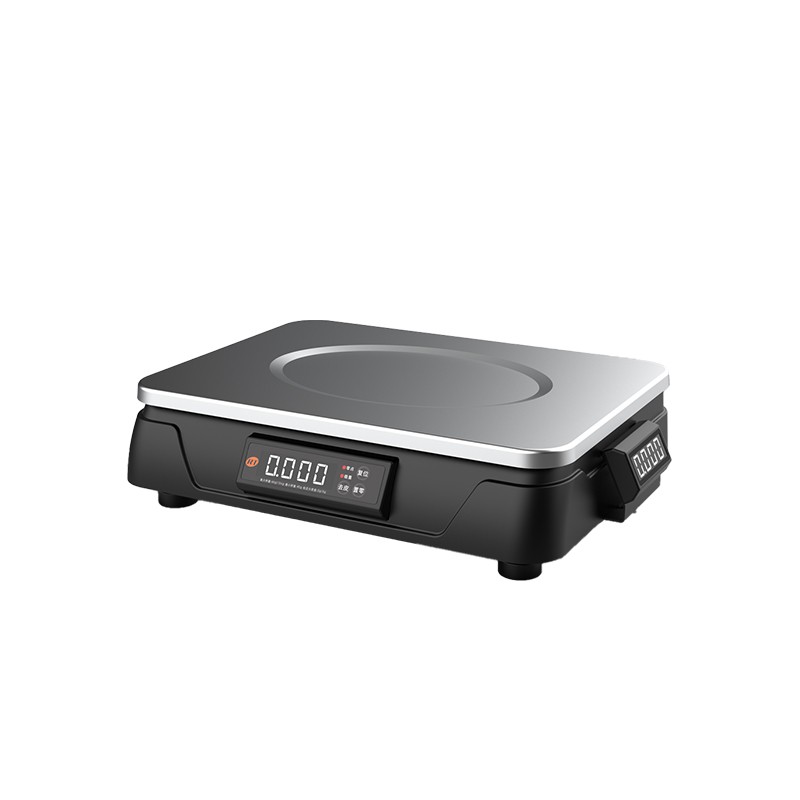 C1 weighing scale
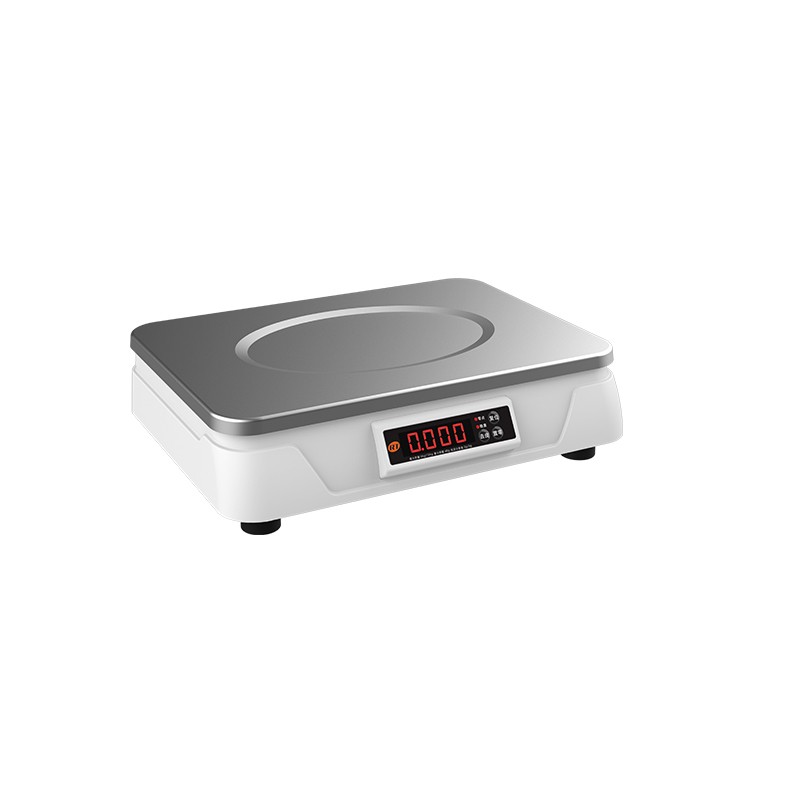 C11 Weighing Scale
 retail
 FOOD
FOOD Medical
 mobiles office/home
 asset Management
 logistics
 Driver download
 User Manual
 Tool Download
 Tag software
 Product Video
 Development Documentation
 Frequently Asked Questions
 User Guide
 Company News
 Exhibition Updates
 Industry Insights
 Product Update
 General situation
 Development history
 Honors and Qualifications
 R&D strength
 Team activities
 Social responsibility


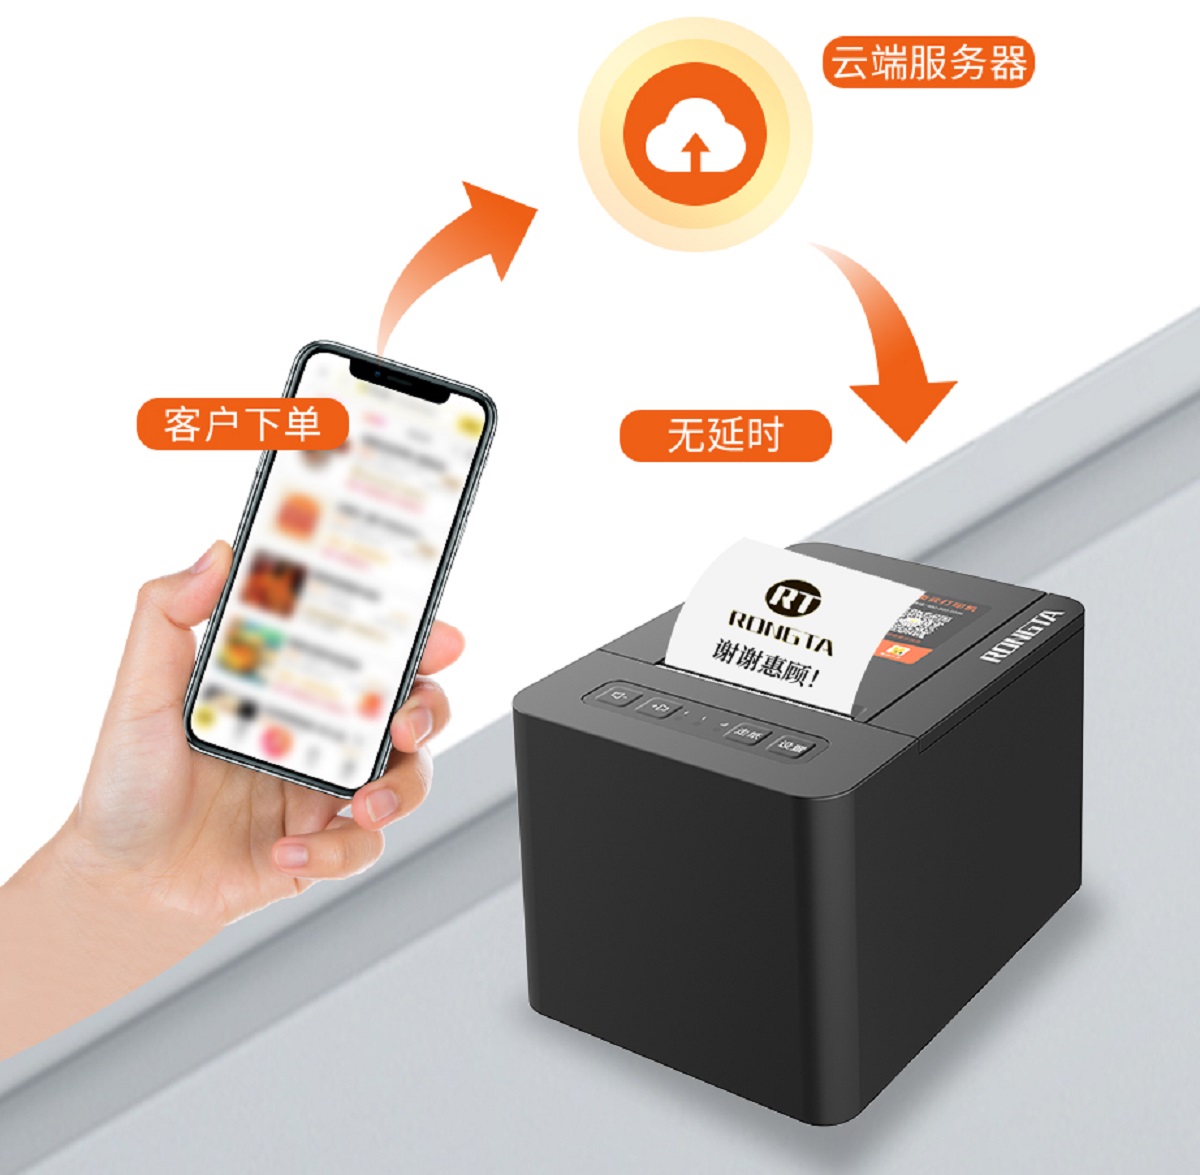
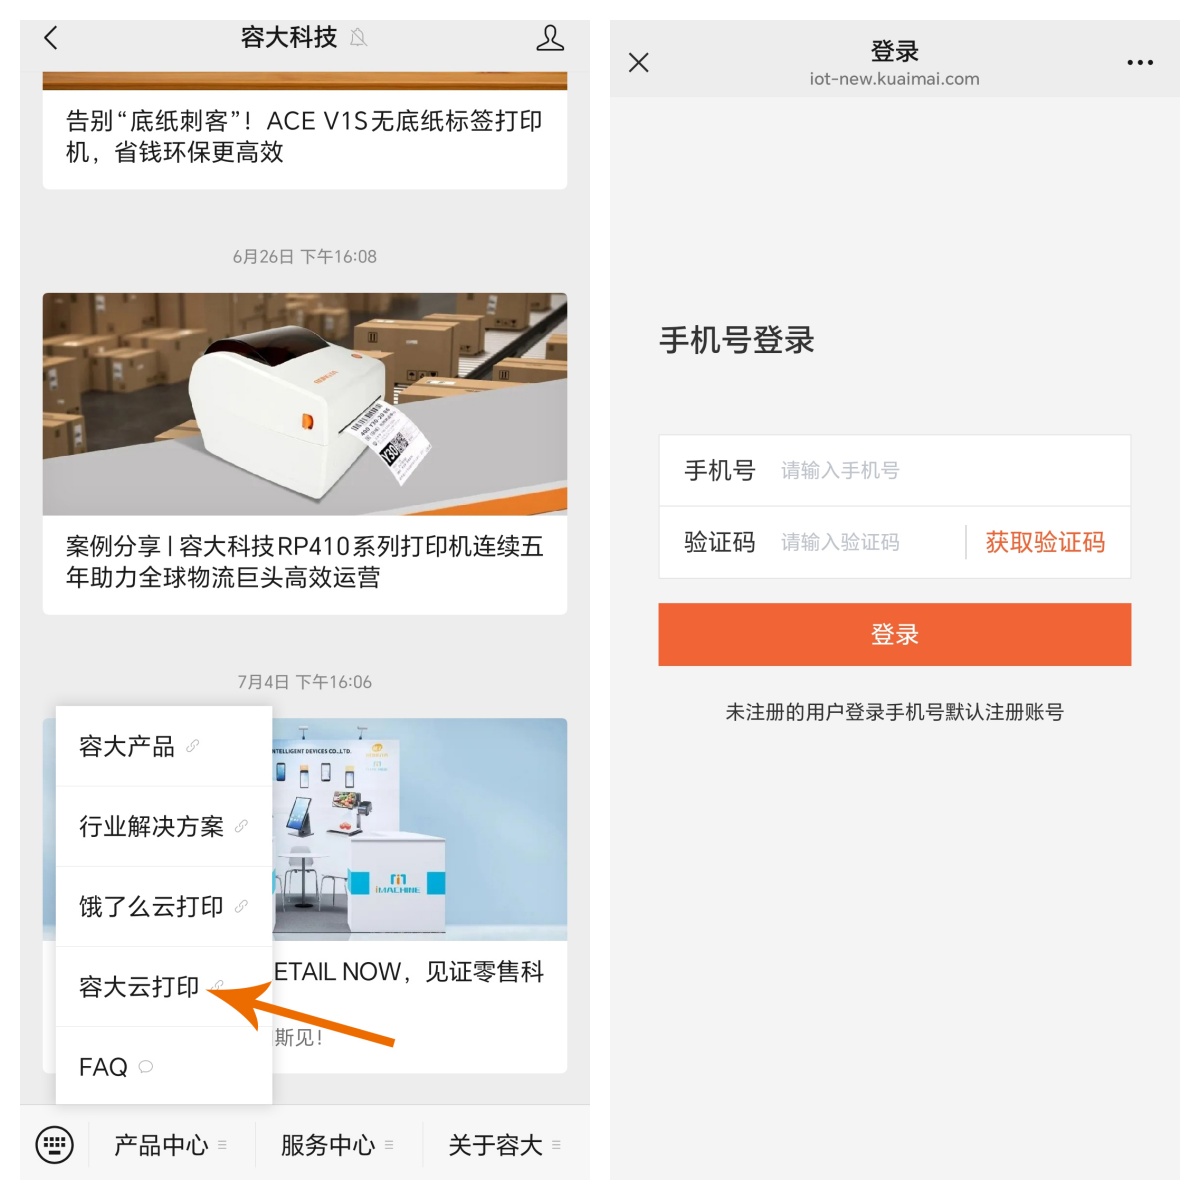
Tutorial | Rongda Cloud Receipt Printer + JD.com Instant Delivery: Automatic Order Acceptance and Printing, Effortless Success!
To help merchants efficiently connect to JD.com's instant delivery service and achieve automatic order acceptance and printing, Xiaorong presents a super detailed JD.com instant delivery binding tutorial. Follow the steps and you'll easily get it done!
one
Account binding
Search for the WeChat official account "Rongda Technology" and click on "Rongda" in the bottom left corner.Cloud printing, and you will be taken to the account binding page.
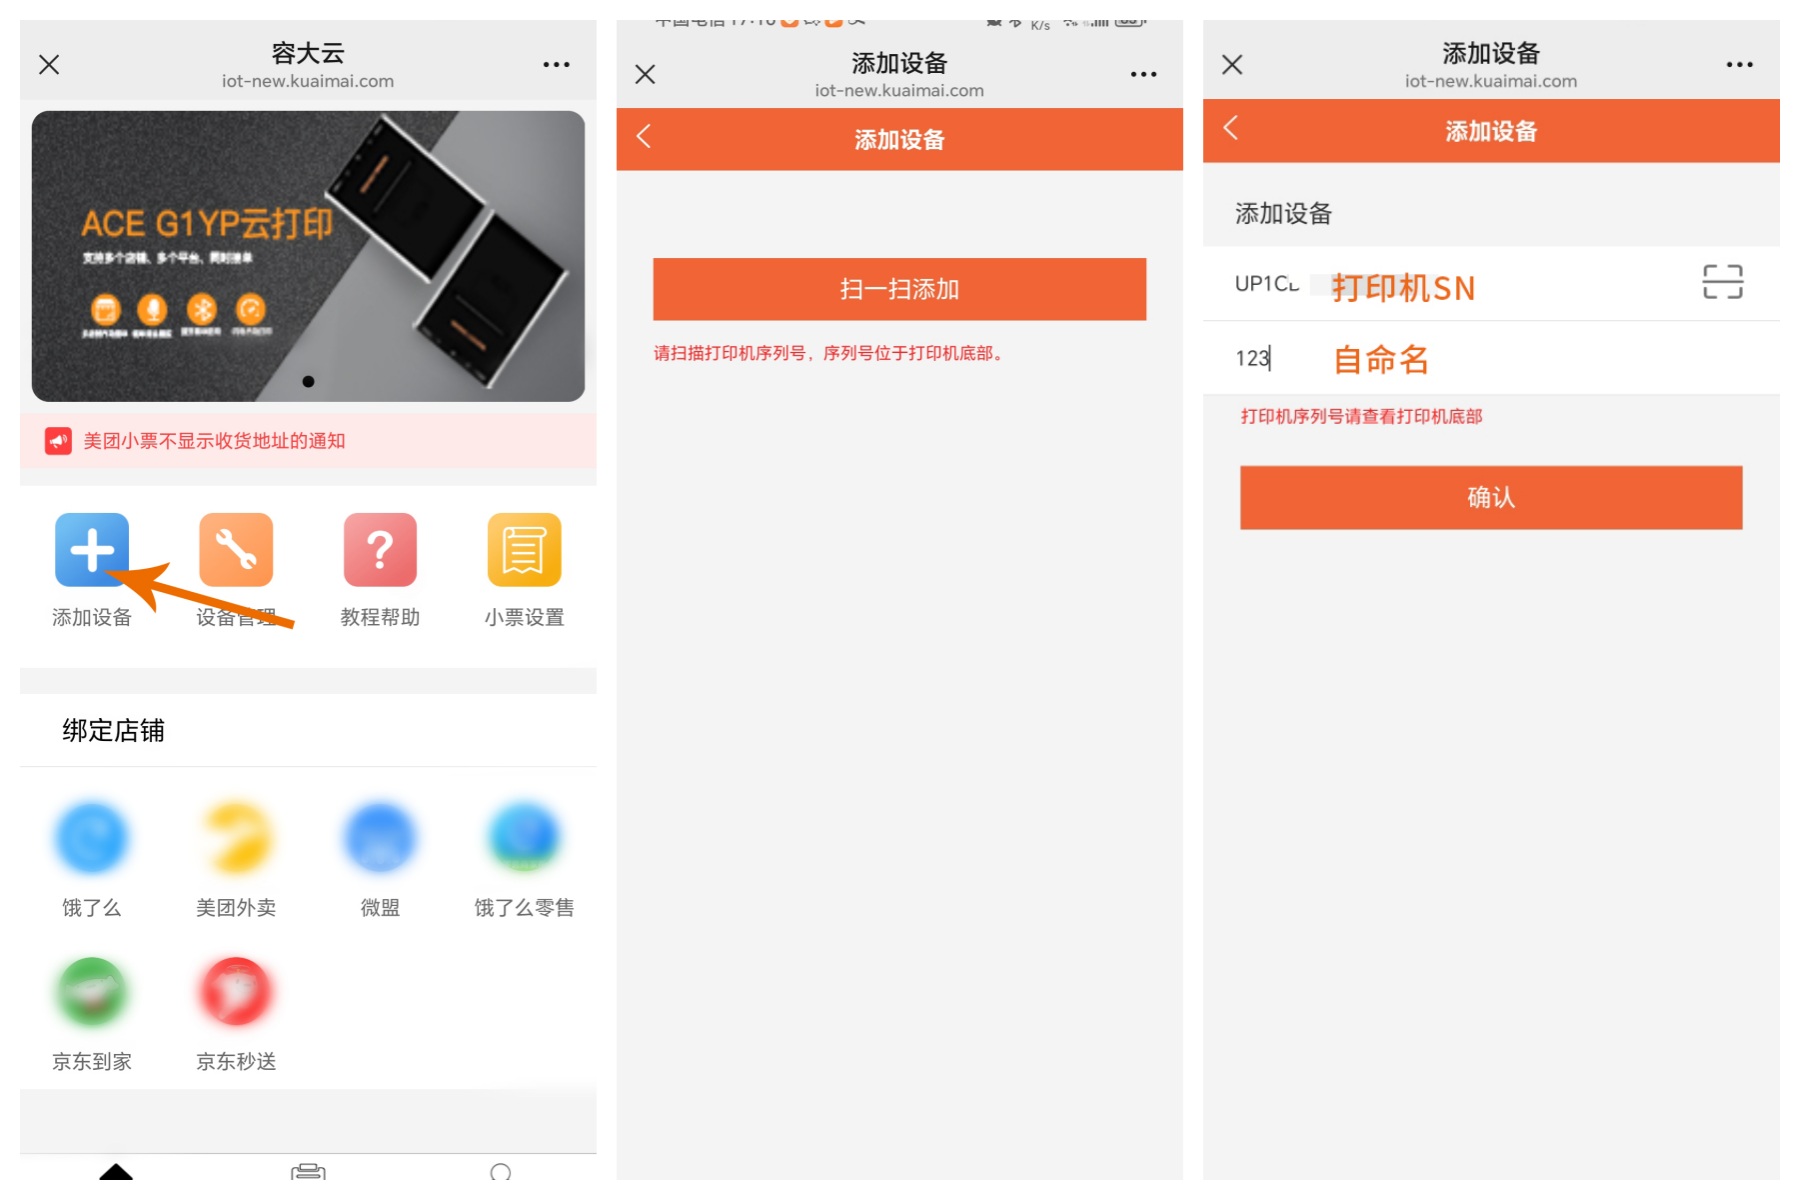
two
Add printer device
1. Go to the Rongda Cloud homepage and click on 【Add Device】;
2. Select "Scan to Add";
3. Use your mobiles phones to scan the serial number/SN code on the bottom of the printer, and complete the binding after confirmation.
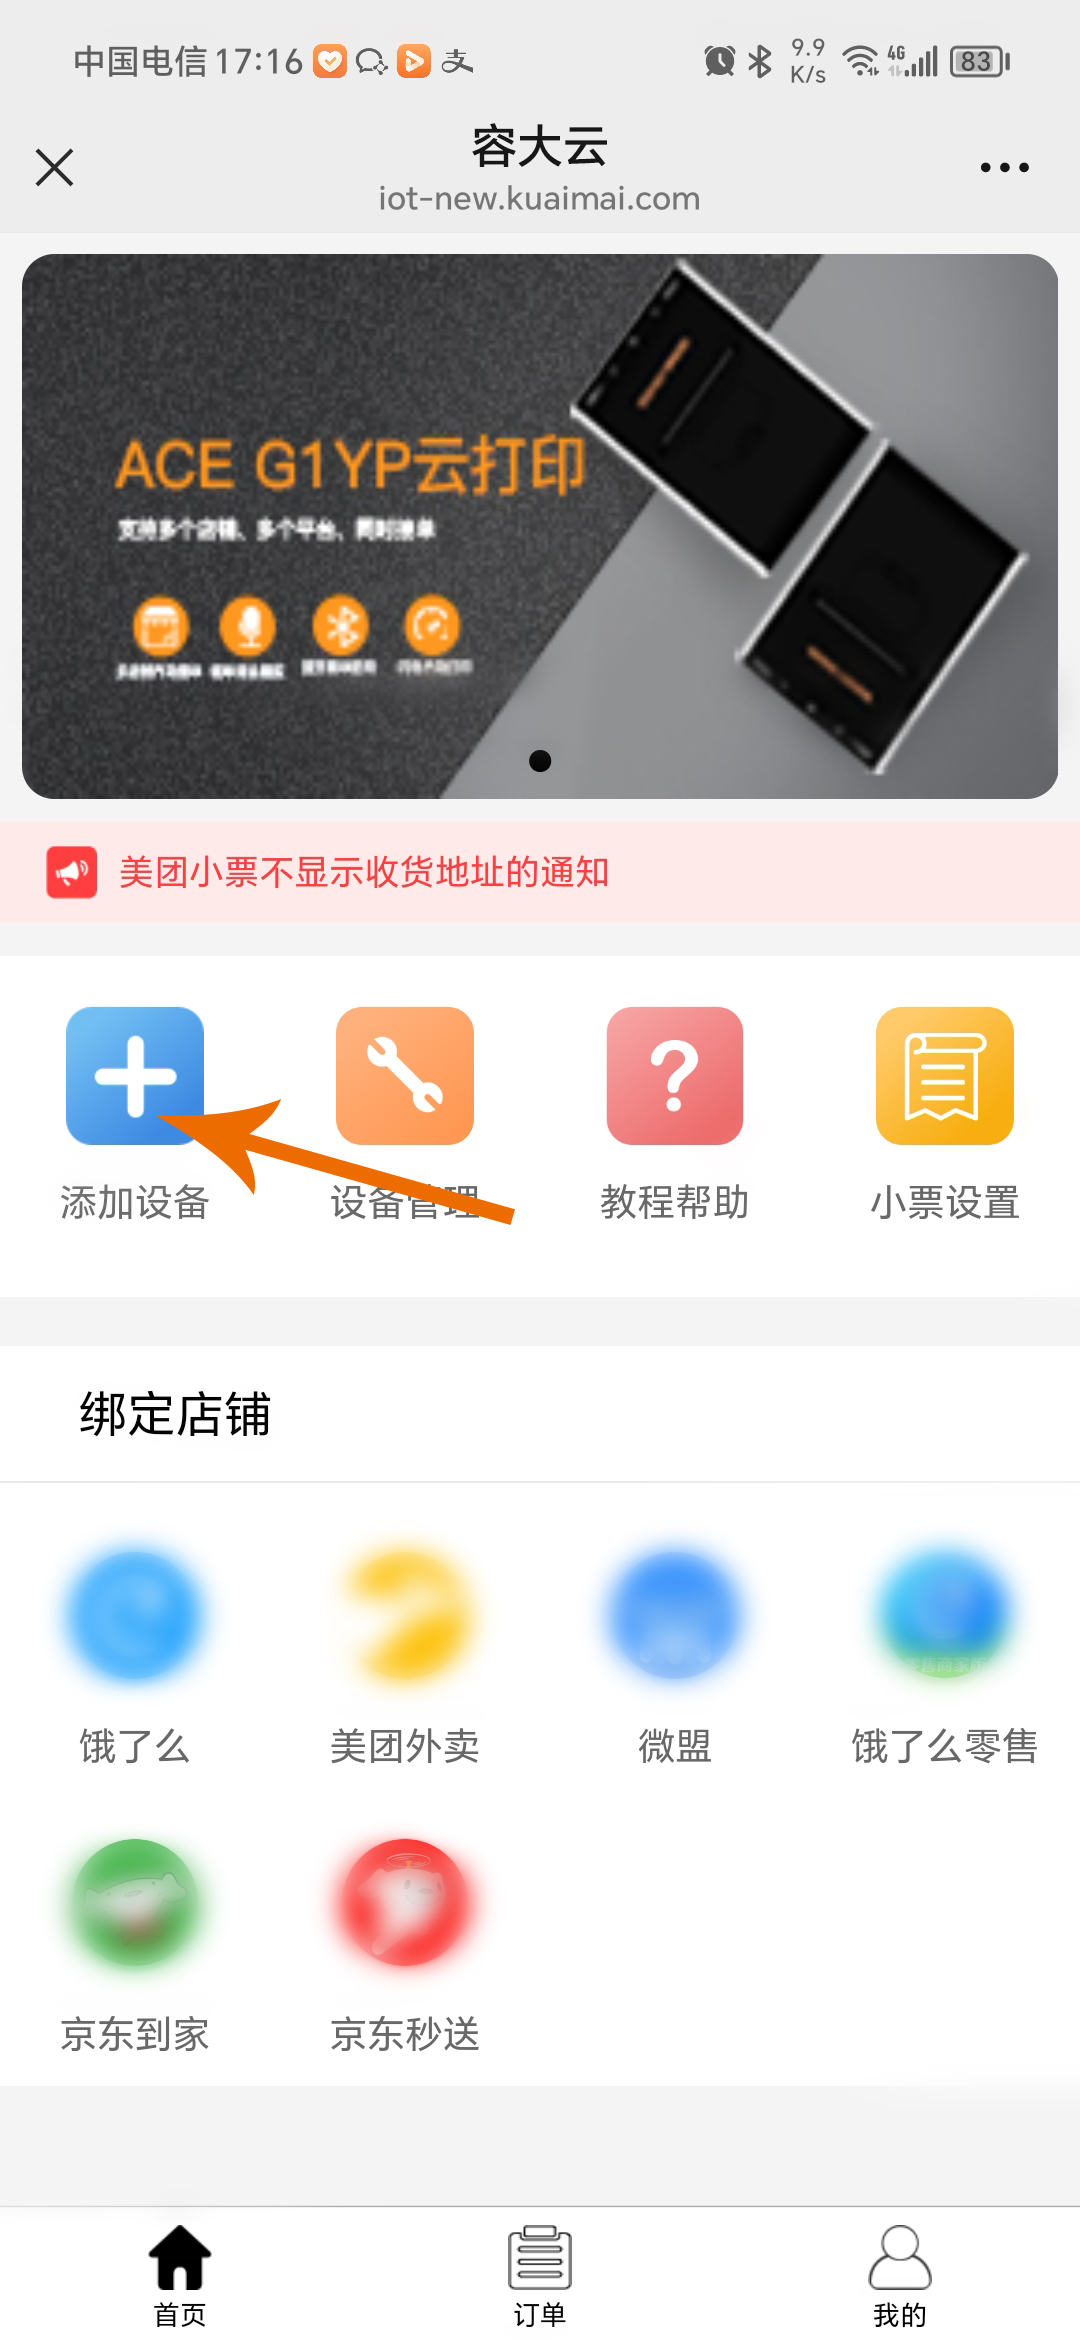
 three
threeLink your JD.com food delivery store
1. Return to Rongda Cloud homepage and click the [JD.com Instant Delivery] icon;
2. Click on [Add Store] to start the binding process.
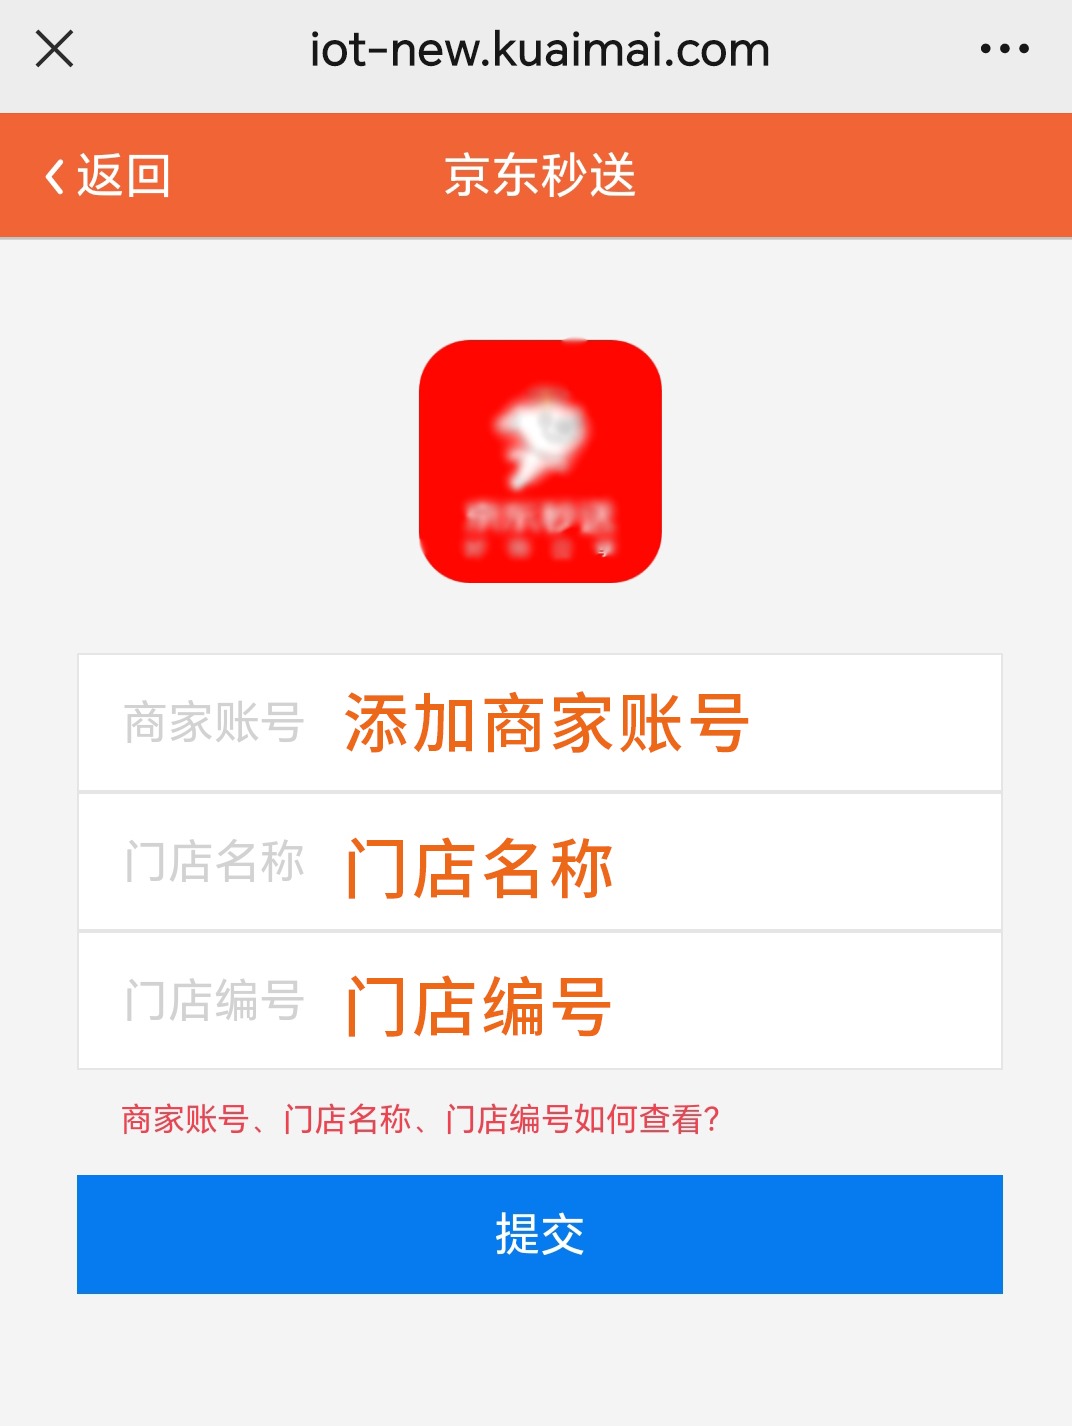
Four
Fill in store information
Enter your JD.com merchant account, store name, and store number in sequence, and click "Submit" after verifying that everything is correct.
five
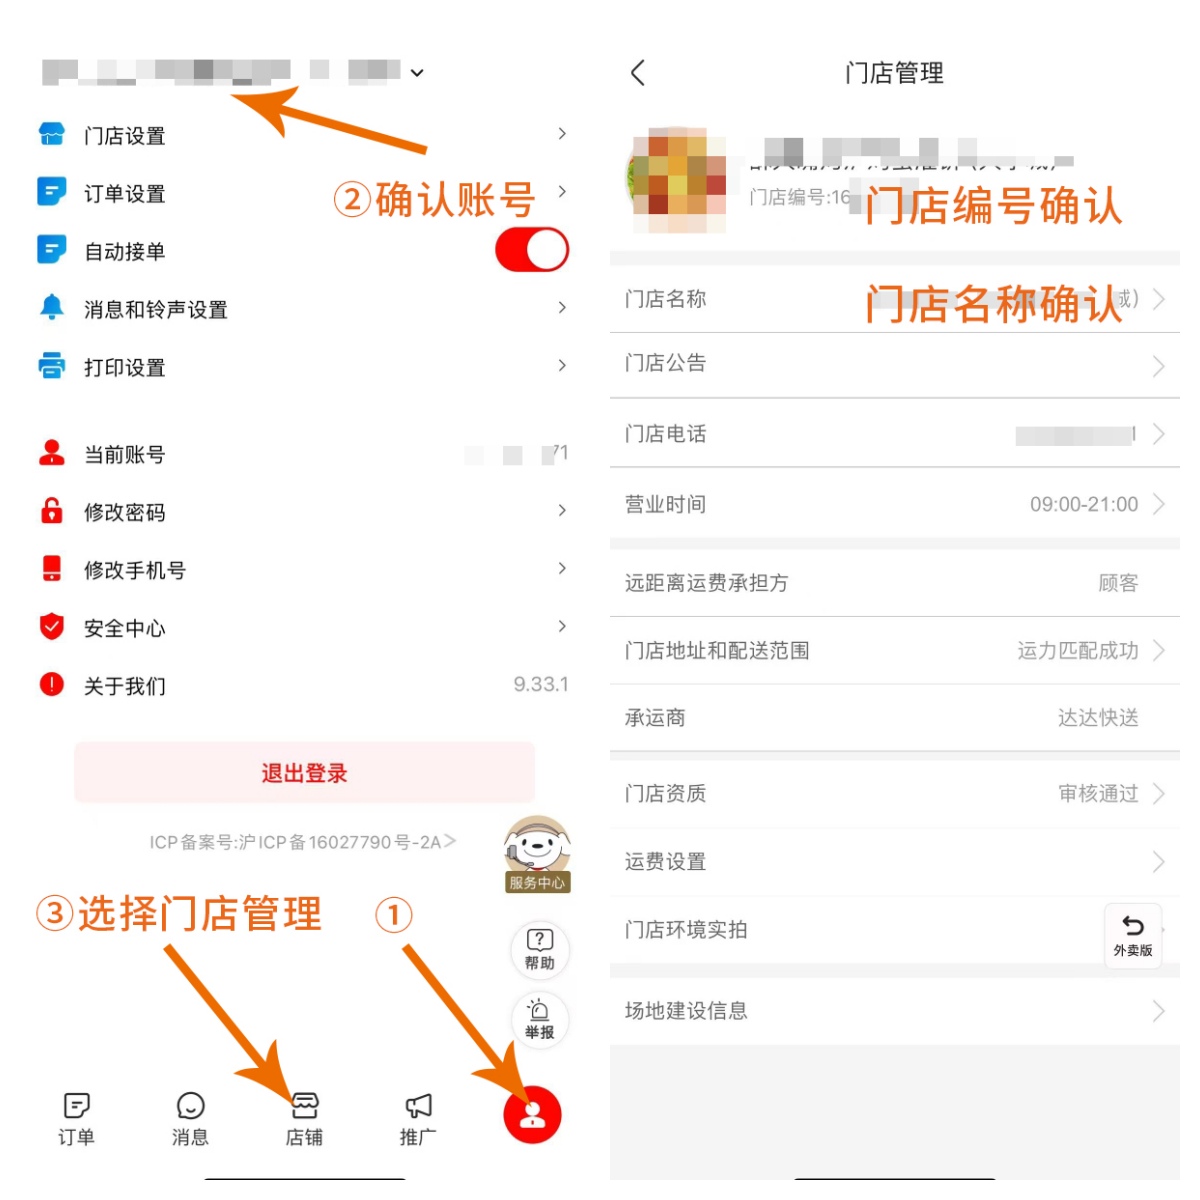
How can I check store information?
1. JD.com Merchant Account: Open the JD.com Instant Delivery Merchant Edition APP, click on [My] - [Current Account] to view;
2. Store name and number: In the Miaosong Merchant Edition APP, click on [Operations] - [Store Management] to find out.
six
Complete authorization binding
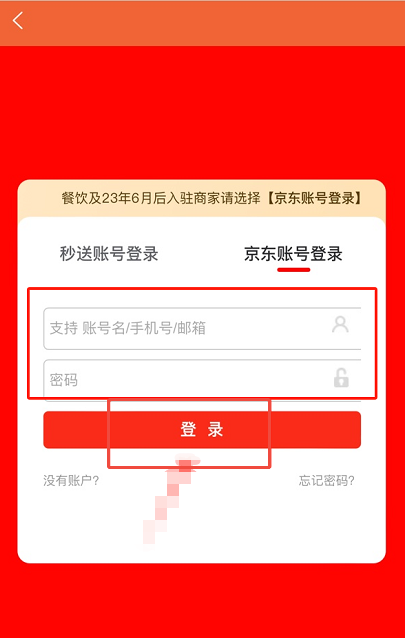
1. Enter your JD.com merchant account and password to log in;
Note: Restaurants and merchants who joined after June 2023 should log in with their JD.com accounts; others should log in with their JD.com accounts.
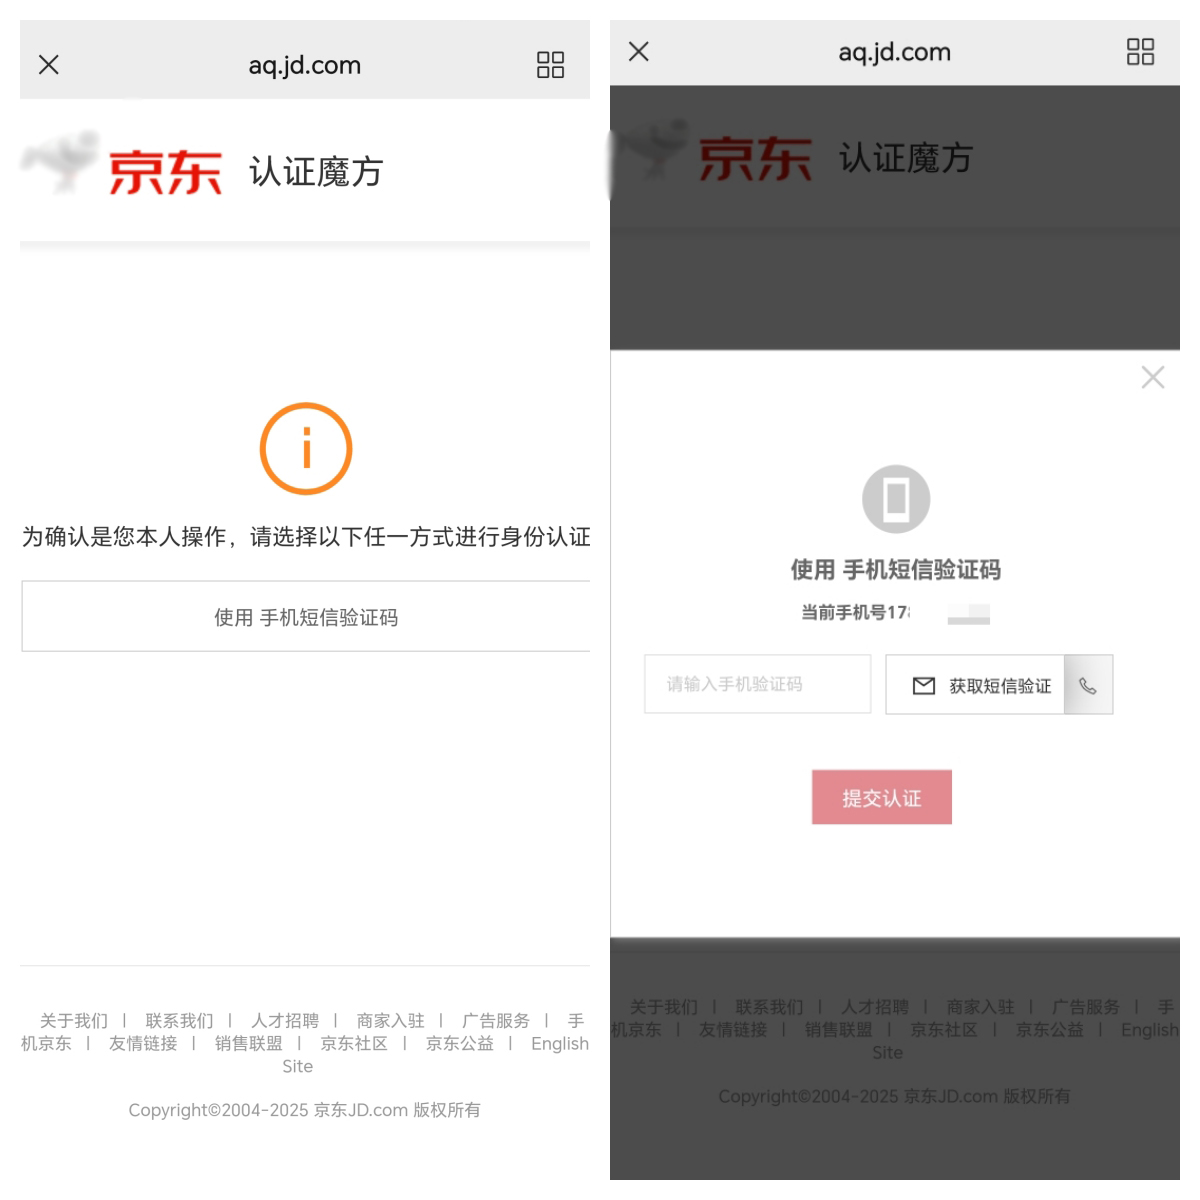
2. First-time users need to complete official authentication as prompted;
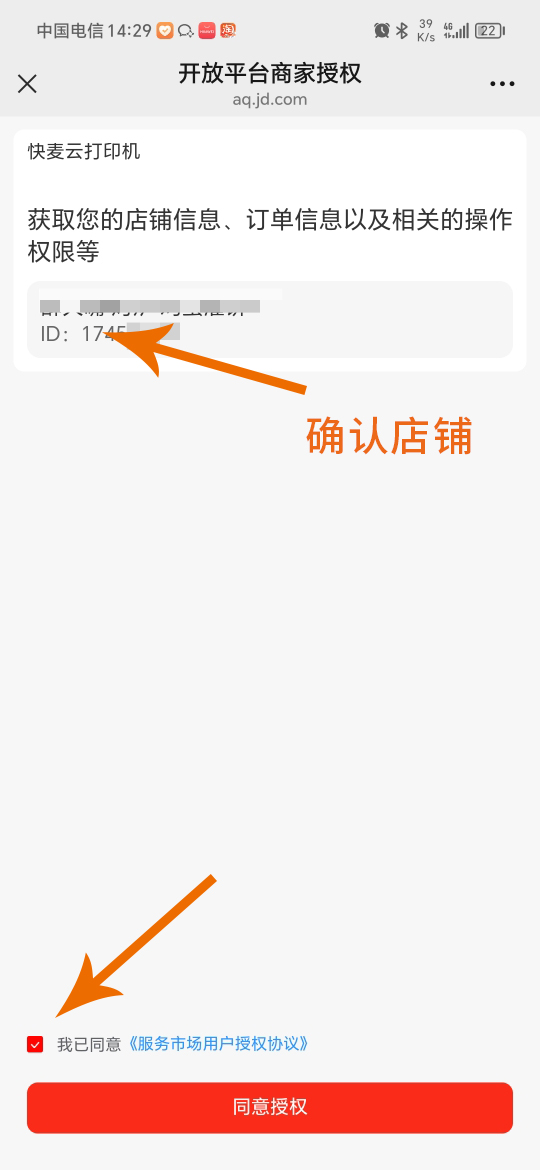
3. After verifying that the store information is correct, please check the authorization agreement and click "Agree to Authorization";
4. After successful authorization, return to the JD Delivery page, click on "Bind Printer", select the device according to the image, set the print template, and save.

seven
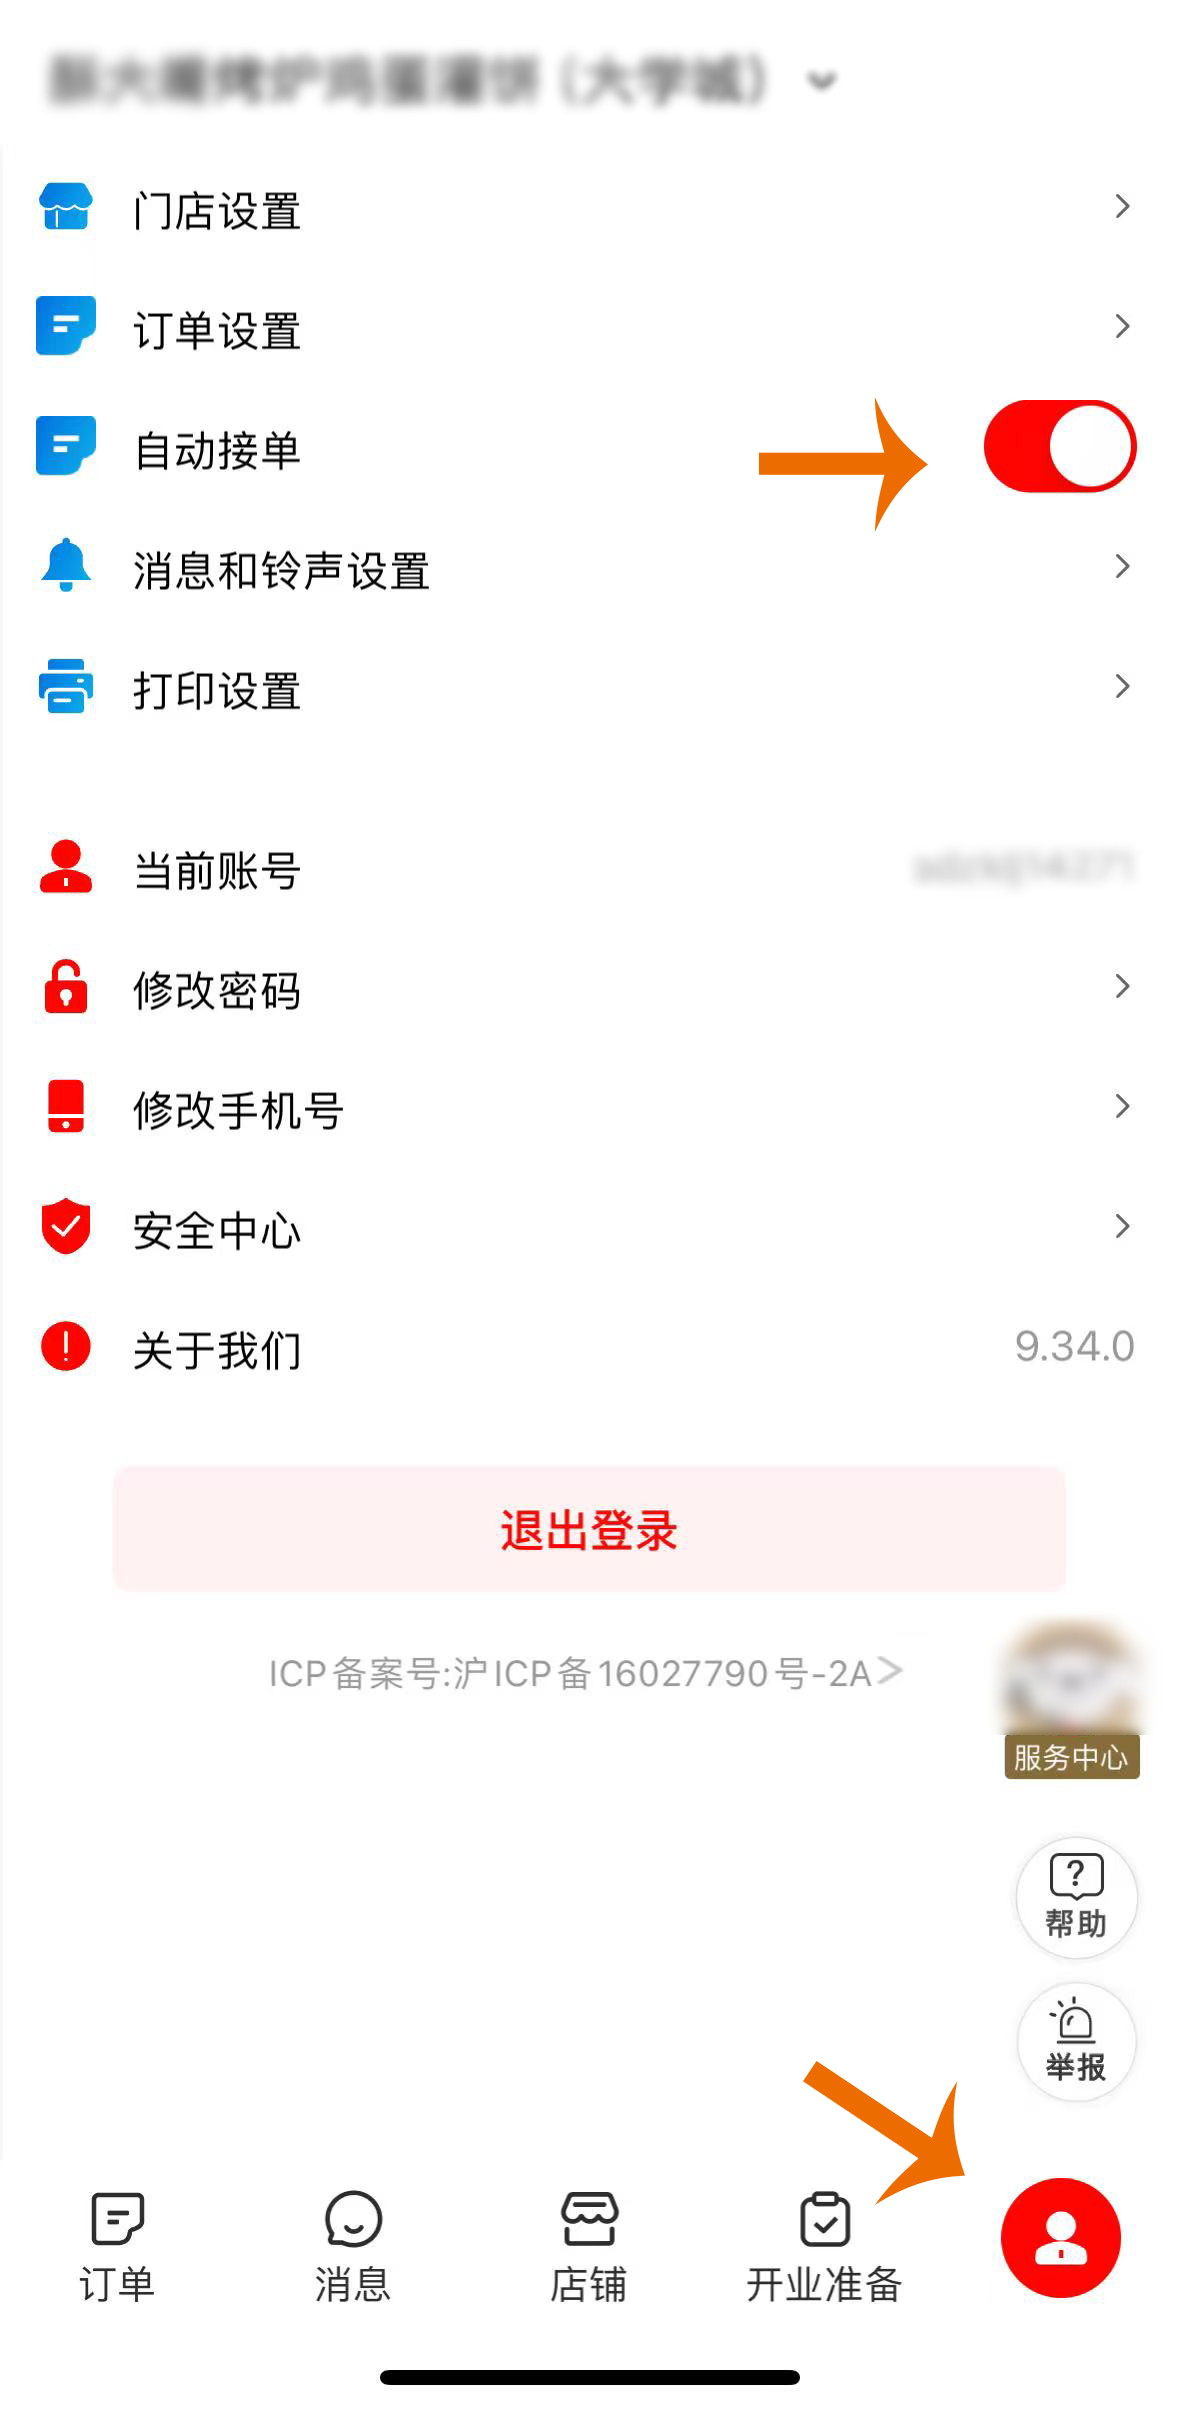
Enable automatic order acceptance mode
Open the JD.com Instant Delivery Merchant Edition APP, click on [My] and enable "Automatic Order Acceptance".
Mission accomplished
After completing all the above steps, your Rongda Cloud receipt printer has been successfully linked to JD.com's instant delivery service! Subsequent store orders will be automatically printed by the receipt printer.
Thank you for your trust and support of Rongda Cloud products. We will continue to provide you with a wide range of products and stable, efficient technical solutions to empower your store operations and improve efficiency. On the occasion of this feature launch, we sincerely wish all our merchants prosperous businesses and abundant wealth!